Last updated: June 7, 2026
Quick Answer: The Canva sticker maker is a browser-based design tool that lets anyone create custom stickers using drag-and-drop templates, graphics, and text. The free plan covers most sticker design needs, while Canva Pro unlocks premium elements and transparent background exports. You can design stickers for personal use, product labels, packaging, or resale, then print them at home or through a professional print service.
Key Takeaways
- Canva’s sticker maker works on the free plan, though Pro users get access to background remover and premium graphics.
- Export stickers as PNG with transparent background (Pro) or as high-resolution PDF for print shops.
- Home printing requires an inkjet printer and sticker paper; laser printers work for matte finishes only.
- Blurry sticker prints are almost always caused by low DPI settings or small canvas sizes — always design at 300 DPI.
- You can sell stickers made in Canva, but you must use original designs or properly licensed elements.
- Canva stickers are not inherently waterproof; durability depends on your sticker paper and any laminate or sealant you apply.
- For small business owners, Canva’s sticker maker is one of the fastest ways to prototype labels and branded stickers without hiring a designer.
What Exactly Can You Make Stickers for in Canva?
Canva’s sticker maker supports virtually any sticker use case you can think of. The tool provides templates and custom canvas sizes for laptop stickers, planner stickers, product labels, bumper stickers, packaging seals, water bottle decals, and promotional stickers for events.
Here’s a breakdown of common sticker types people create:
| Sticker Type | Typical Size | Common Use |
|---|---|---|
| Planner stickers | 1″ to 2″ | Personal organization, journaling |
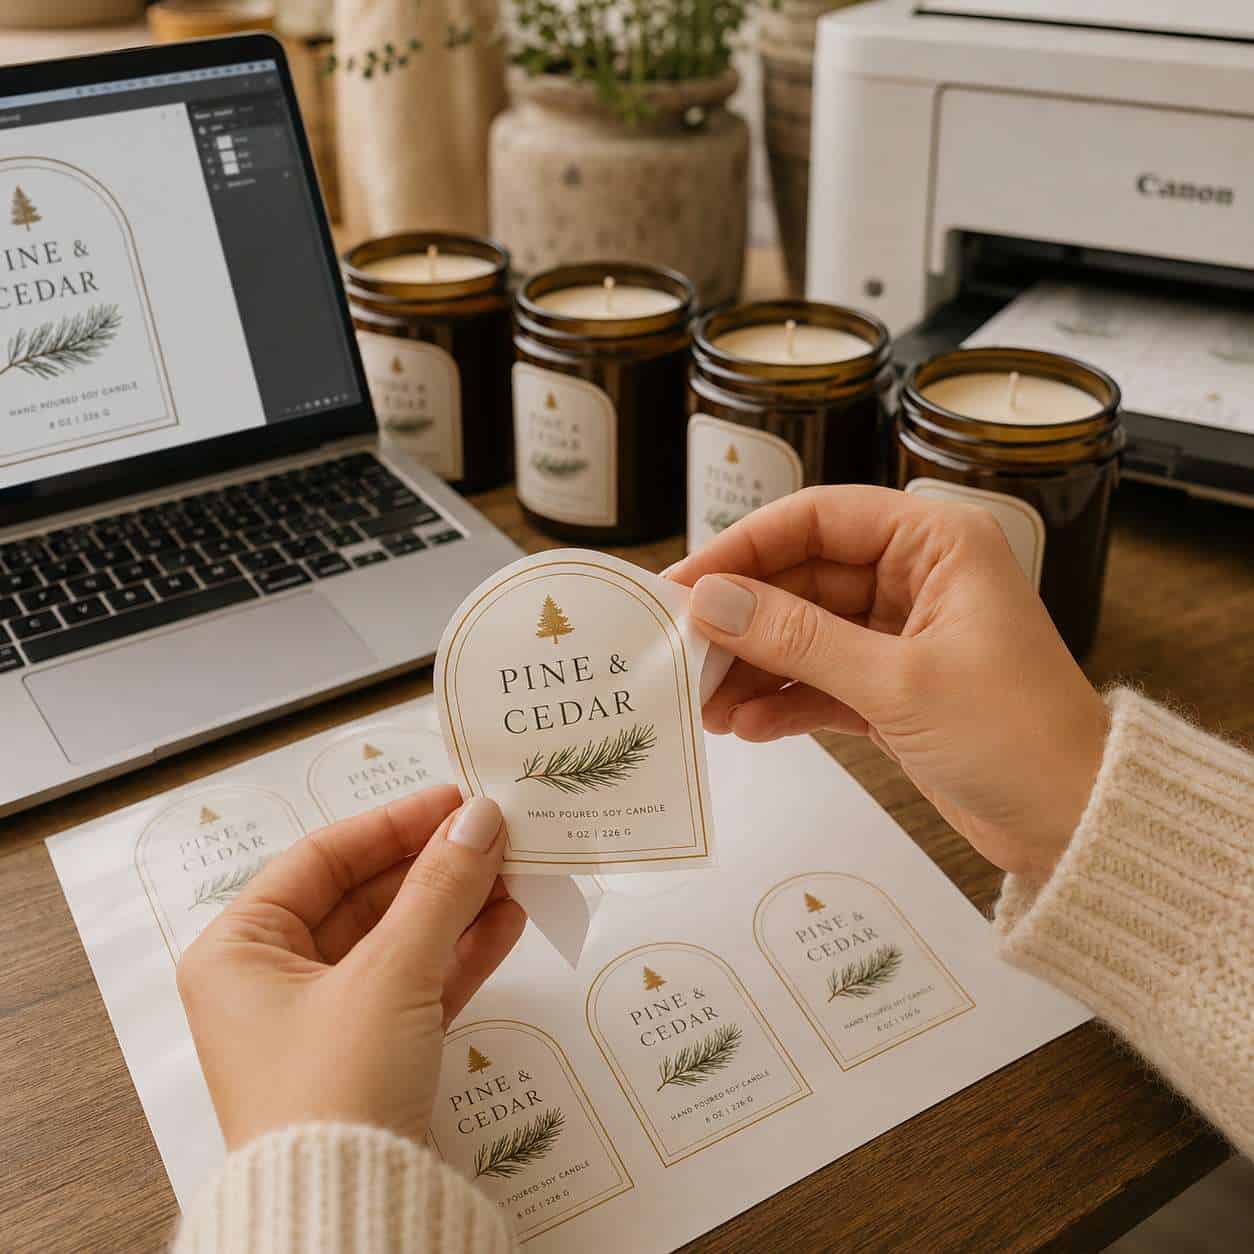
| Product labels | 2″ to 4″ | Candles, soaps, food jars |
| Laptop/phone stickers | 2″ to 4″ | Personal expression, brand swag |
| Bumper stickers | 3″ x 10″ | Vehicles, political campaigns |
| Packaging seals | 1″ to 2″ circle | E-commerce shipping, branding |
| Die-cut stickers | Custom shape | Retail, giveaways, merch |
I’ve personally used Canva to create thank-you stickers for a friend’s Etsy shop. We designed 1.5-inch round seals in about 20 minutes using a free template, swapped in her brand colors, and printed a sheet of 30 on Avery sticker paper. The whole process cost under five dollars.
If you’re already using Canva for other design work, check out our Canva design resource hub for more project ideas.
Is the Canva Sticker Maker Free or Do You Need a Pro Account?
The core sticker design features in Canva are free. You can access thousands of templates, basic graphics, text tools, and standard export options without paying anything.
However, Canva Pro (roughly $13/month or $120/year as of 2026) adds features that matter for sticker making:
- Transparent background export (PNG): Essential for die-cut stickers. Free users get a white background.
- Background remover tool: Useful when incorporating photos into sticker designs.
- Premium elements: Access to a much larger library of illustrations, icons, and fonts.
- Brand Kit: Save your brand colors, fonts, and logos for consistent sticker designs.
Decision rule: If you’re making stickers casually or for fun, the free plan is enough. If you’re making stickers for a business or need transparent backgrounds, Pro pays for itself quickly.
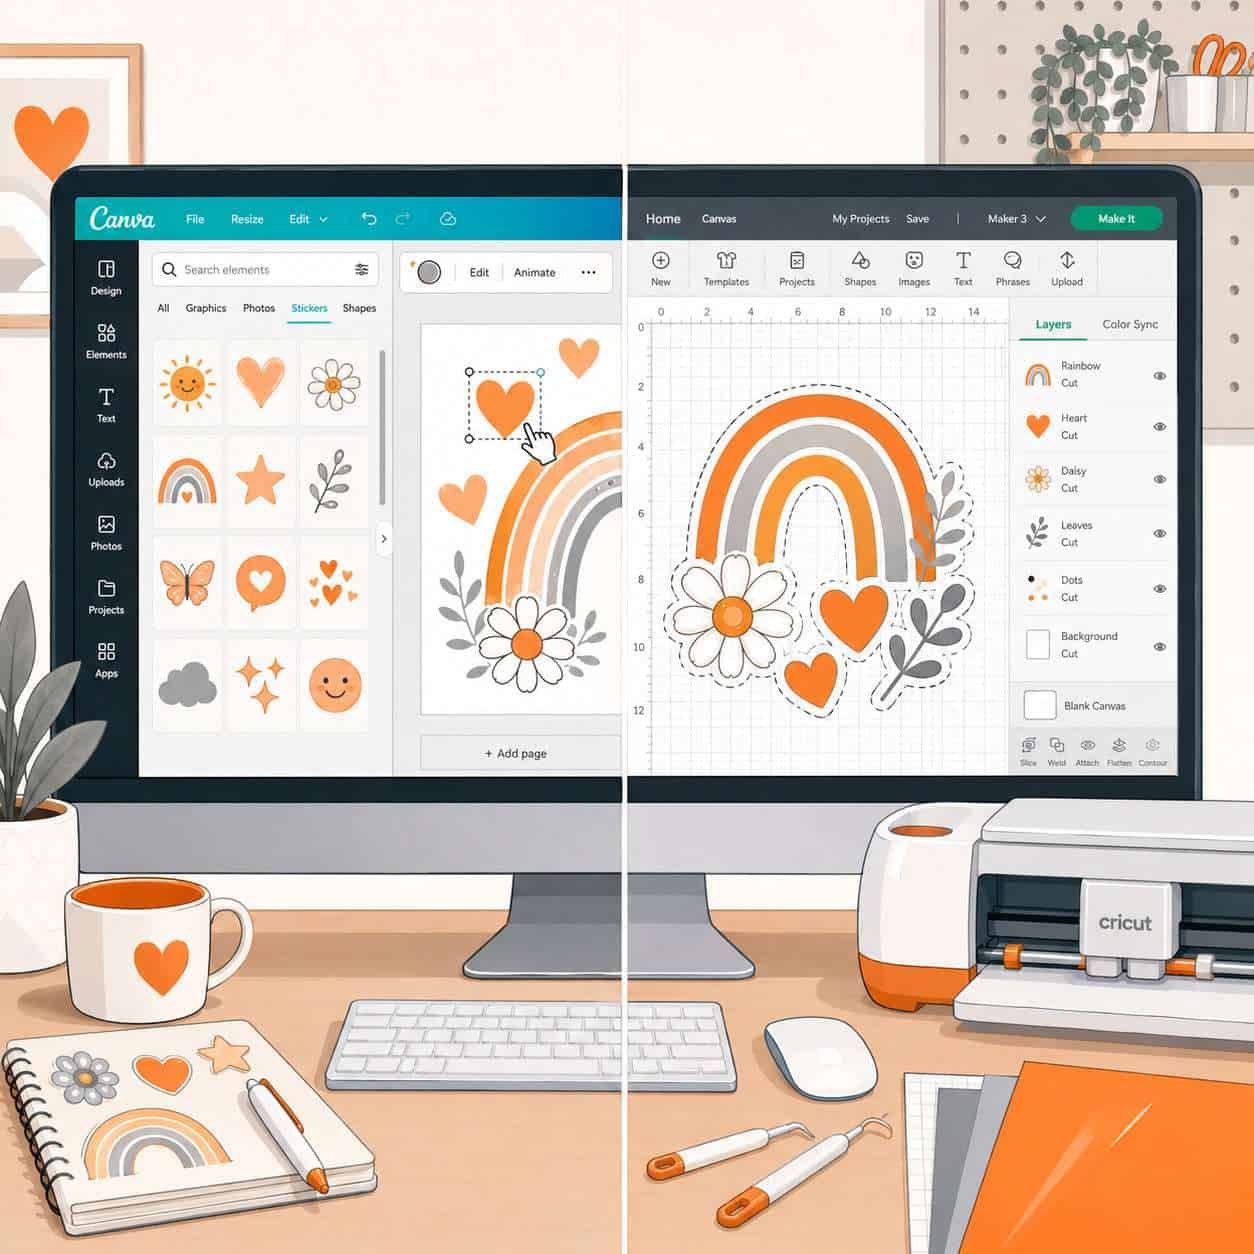
Is Canva Sticker Maker Better Than Cricut Design Space?
They solve different problems. Canva is a graphic design tool for creating sticker artwork. Cricut Design Space is a cutting machine interface for physically cutting stickers. Most serious sticker makers use both — Canva for design, Cricut for cutting.
Here’s how they compare:
| Feature | Canva Sticker Maker | Cricut Design Space |
|---|---|---|
| Design templates | Thousands available | Limited selection |
| Learning curve | Very low | Moderate |
| Cut line creation | Not supported | Built-in |
| Machine integration | None | Direct to Cricut cutters |
| Cost | Free or $13/month | Free (requires Cricut hardware) |
| Best for | Creating the artwork | Cutting the finished sticker |
Common mistake: Trying to do everything in Cricut Design Space. Its design tools are basic. You’ll get better-looking stickers by designing in Canva, exporting as PNG with transparent background, then importing into Cricut Design Space for cutting.
If you’re interested in how Canva’s AI tools can speed up your design process, our guide on Canva AI design creation covers that in depth.
Are Canva Stickers Good for Product Labels or Just Decoration?
Canva stickers work well for both product labels and decorative stickers, but product labels have stricter requirements you need to plan for.
For product labels, you’ll need to:
- Set your canvas to the exact label dimensions (measure your container first).
- Include required information like ingredients, weight, barcodes, or regulatory text depending on your product category.
- Use CMYK-friendly colors if sending to a professional printer — Canva designs in RGB by default, so colors may shift slightly in print.
- Export as PDF Print at the highest quality setting for sharp text and clean edges.
Decorative stickers are more forgiving. Colors don’t need to be exact, and you have more creative freedom with shapes and layouts.
Edge case: If your product labels need to meet FDA or other regulatory standards (food, cosmetics, supplements), Canva can create the design, but you should verify compliance separately. Canva doesn’t have built-in regulatory templates.
How Do I Fix Blurry Stickers When Printing From Canva?
Blurry sticker prints come from three main causes: low canvas resolution, incorrect export settings, or printer quality issues. Fix these and your stickers will print sharp.
Step-by-step fix:
- Set canvas size in pixels, not inches. For a 2″ x 2″ sticker at 300 DPI, create a 600 x 600 pixel canvas. For 3″ x 3″, use 900 x 900 pixels.
- Export as PDF Print (not PNG) when using a home printer. Select the highest quality option in the download menu.
- Check your printer settings. Set print quality to “Best” or “High Quality” and select the correct paper type (glossy, matte, or sticker paper).
- Avoid stretching small images. If you drag a small graphic to fill a large area, it will pixelate. Use high-resolution source images.
- Don’t resize after export. Scaling a finished file up in another program degrades quality.
Quick test: Print one sticker first before printing a full sheet. This saves paper and lets you catch problems early.
What Kind of Printer Works Best for Canva Stickers?
An inkjet printer is the best choice for most home sticker printing. Inkjet printers handle glossy and vinyl sticker papers well, produce vibrant colors, and work with the widest range of sticker media.
Printer recommendations by use case:
- Casual/hobby stickers: Any decent inkjet printer (Canon PIXMA or Epson EcoTank series work well).
- Small business labels: A dedicated inkjet with individual ink cartridges for cost efficiency. EcoTank models with refillable ink save money at volume.
- Professional quality: Consider a dye-sublimation printer for waterproof results, or outsource to a print service.
Avoid using laser printers with glossy or vinyl sticker paper. The heat from a laser printer’s fuser can melt vinyl and damage the printer. Laser printers work fine with matte sticker paper only.
Is Canva Sticker Maker Good for Small Business Owners?
Yes. For small business owners who need branded stickers, product labels, or packaging materials, Canva’s sticker maker is one of the most cost-effective starting points available in 2026.
Here’s why it works well for small businesses:
- Speed: You can go from idea to printed sticker in under an hour.
- No design skills needed: Templates handle layout, typography, and color harmony for you.
- Brand consistency: Canva Pro’s Brand Kit ensures every sticker matches your other materials.
- Low cost: Free plan for basics, or Pro at $13/month — far cheaper than hiring a freelance designer for every sticker run.
I worked with a local bakery owner who used Canva to create seasonal label stickers for her jam jars. She designed six variations in one afternoon, printed them on waterproof sticker paper, and had professional-looking labels without spending a dollar on design fees.
For more ways to build your brand identity in Canva, see our beginner’s guide to Canva logo design.
Are Canva Stickers Waterproof and Durable?
Canva itself doesn’t determine waterproofness — your sticker paper and finish do. A sticker designed in Canva is only as durable as the material you print it on and the sealant you apply.
Durability options:
- Matte sticker paper (no coating): Not waterproof. Fine for indoor use like planners and laptops.
- Glossy sticker paper (inkjet): Slightly water-resistant but will smear with prolonged moisture.
- Vinyl sticker paper: Water-resistant out of the box. Good for water bottles and outdoor use.
- Laminated stickers: Apply a clear laminate sheet over any printed sticker for full waterproofing and UV protection.
Choose vinyl sticker paper if your stickers will be exposed to water, sunlight, or frequent handling. Choose matte paper if your stickers are for indoor, short-term use.
What File Types Do You Need for Canva Sticker Printing?
For home printing, export as PDF Print at the highest quality setting. For professional print services or cutting machines, export as PNG with transparent background (requires Canva Pro).
File type guide:
| Export Format | Best For | Notes |
|---|---|---|
| PDF Print | Home printing, print shops | Highest quality, preserves colors |
| PNG (transparent) | Die-cut stickers, Cricut | Requires Pro for transparency |
| PNG (standard) | Simple rectangular stickers | Free plan, white background |
| SVG | Cutting machines | Available on Pro for certain elements |
Common mistake: Exporting as JPG. JPG compression reduces quality and doesn’t support transparency. Always use PNG or PDF for stickers.
Can You Sell Stickers You Make in Canva?
Yes, but with important licensing conditions. Canva’s content license allows you to sell designs that incorporate Canva elements as part of a unique design, but you cannot resell unmodified Canva templates or standalone Canva graphics.
Rules for selling Canva stickers:
- You can sell stickers that combine multiple elements, custom text, and your own creative arrangement into an original composition.
- You cannot sell a single Canva graphic element as-is on a sticker.
- You can use your own uploaded artwork, photos, and fonts without restriction.
- Check Canva’s current license agreement before selling, as terms may update.
Safest approach: Use Canva as a layout tool and incorporate your own original illustrations or photographs. This eliminates any licensing ambiguity.
If you’re building a sticker business, you might also want to explore how to create effective email templates in Canva for marketing your products.
Common Mistakes People Make When Designing Canva Stickers
Even experienced Canva users make these errors when creating stickers. Avoid them and your results will improve immediately.
- Designing at screen resolution (72 DPI) instead of print resolution (300 DPI). Always calculate your canvas size in pixels based on 300 DPI.
- Ignoring bleed area. Leave at least 1/8 inch of extra design space around the edges so nothing gets cut off.
- Using too many fonts. Stick to two fonts maximum per sticker. One for headlines, one for body text.
- Forgetting to flatten transparency. If your sticker has layered transparent elements, export as PDF to avoid unexpected white areas.
- Choosing colors that look good on screen but print poorly. Neon greens and bright blues often print duller than expected. Print a test sheet first.
- Overcrowding the design. Stickers are small. Keep text minimal and graphics bold.
How Do Professional Designers Use Canva for Sticker Design?
Professional designers use Canva primarily for rapid prototyping, client mockups, and small-batch production. They typically don’t use it as their final production tool for large commercial runs.
Professional workflow:
- Concept and mockup in Canva — fast iteration with templates and drag-and-drop elements.
- Client approval — share Canva designs via link for feedback.
- Final production in Adobe Illustrator or Affinity Designer — for precise color control, vector output, and print-ready files.
- Small runs stay in Canva — for batches under 500 stickers, Canva’s output quality is sufficient.
Pro tip: Professionals often use Canva’s collaboration features to work with clients who aren’t design-savvy. The client can adjust text or colors directly in Canva without needing expensive software.
For more on creating professional visual content in Canva, explore our guide to designing engaging carousel content.
How Much Does Canva Sticker Printing Cost?
Canva offers a print service through Canva Print, but pricing varies by sticker type, quantity, and region. For home printing, your costs are sticker paper plus ink.
Estimated cost breakdown (2026):
| Method | Cost Per Sticker (approx.) | Minimum Order |
|---|---|---|
| Home inkjet printing | $0.05 to $0.15 | 1 sheet |
| Canva Print service | $0.30 to $1.00+ | Varies by product |
| Third-party print shop (Sticker Mule, etc.) | $0.10 to $0.50 | Usually 50+ |
Choose home printing if you need small quantities or want instant results. Choose a print service if you need consistent quality at scale, waterproof materials, or professional die-cutting.
Note: These are estimates based on commonly reported pricing. Check current rates directly on Canva Print or your preferred print vendor.
FAQ
Can I use Canva sticker maker on my phone? Yes. The Canva mobile app for iOS and Android includes sticker templates and all core design tools. Exporting at high resolution works the same as on desktop.
What size should I make my Canva sticker? It depends on your use case. For most stickers, start with a 2″ x 2″ canvas (600 x 600 pixels at 300 DPI). Adjust dimensions based on your sticker paper and intended application.
Does Canva have a sticker template? Yes. Search “sticker” in Canva’s template library to find hundreds of pre-designed options for various shapes, sizes, and themes.
Can I make kiss-cut stickers with Canva? Canva can create the artwork, but kiss-cut stickers require a cutting machine (like a Cricut) or a professional print service to cut around the design while leaving the backing intact.
How do I add a white border to my Canva sticker? Add a slightly larger white shape behind your design, or use the “Shadow” effect set to white with zero blur. This creates a clean border that works well for die-cut stickers.
Can I import my own images into Canva for stickers? Yes. Upload JPG, PNG, or SVG files directly to Canva and place them on your sticker canvas. For best results, use images that are at least 300 DPI at the intended print size.
Is Canva better than Photoshop for stickers? For beginners and small business owners, Canva is faster and easier. Photoshop offers more control over color profiles, layer effects, and print preparation, but has a steep learning curve and costs more.
Can I make holographic stickers with Canva? You can design the artwork in Canva, but the holographic effect comes from the sticker paper, not the design file. Print your Canva design on holographic sticker paper for that effect.
Do Canva stickers work with Avery labels? Yes. Set your Canva canvas dimensions to match your specific Avery label size. Avery also offers free templates on their website that you can use as a sizing guide.
How do I remove the background from a sticker in Canva? Use the Background Remover tool (Canva Pro feature). Click on your image, select “Edit Image,” then “Background Remover.” Export as PNG to preserve the transparency.
Conclusion
The Canva sticker maker is a practical, accessible tool for anyone who needs custom stickers — whether you’re decorating a laptop, labeling handmade products, or building a sticker business. The free plan handles most design tasks, and upgrading to Pro is worth it if you need transparent backgrounds or premium elements.
Your next steps:
- Open Canva and search “sticker” to browse templates.
- Set your canvas to the correct pixel dimensions for 300 DPI printing.
- Design your first sticker using no more than two fonts and bold, simple graphics.
- Export as PDF Print for home printing or PNG (transparent) for cutting machines.
- Print a test sheet before committing to a full batch.
Start simple, test your prints early, and refine from there. For more Canva tutorials and design strategies, visit our Canva resource library or learn how to pair your designs with engaging Instagram story templates.
Useful Resources: Canva design platform & Canva Design School free tutorials